
Tutorial: A Research Project Notebook
A great DocuShark document for a researcher keeps everything in one place: the write-up, the diagram of the design, the data file, and the sources — all citable, all in sync. In this walkthrough you'll build a small psychology study notebook and pick up the features researchers lean on most.
What you'll build: a one-document study notebook — a written report with real inline citations, a study-design diagram on its own canvas page, a results table with a stats formula, an embedded data file, and a concept mind-map.
You'll learn: document fields, citations (a reference library + inline cites), linking a diagram page from your prose, embedded files, math, and a mind-map via Add Group.
Before you start: open DocuShark and skim How DocuShark Is Organized if the pieces are new.
Want the finished version?
Download this notebook as a .docushark and import it to explore the end result, or browse them all in the Example Gallery.
1. Create and title the notebook
From the Documents home, click New and rename it to your study — e.g. Does Music Tempo Affect Recall?. Add a couple of document fields for values you'll reuse: click the Fields control and define Course, Lead, and n (sample size). Reference them in your prose as {{Course}} and they update everywhere at once. See Document Fields.
2. Write the report
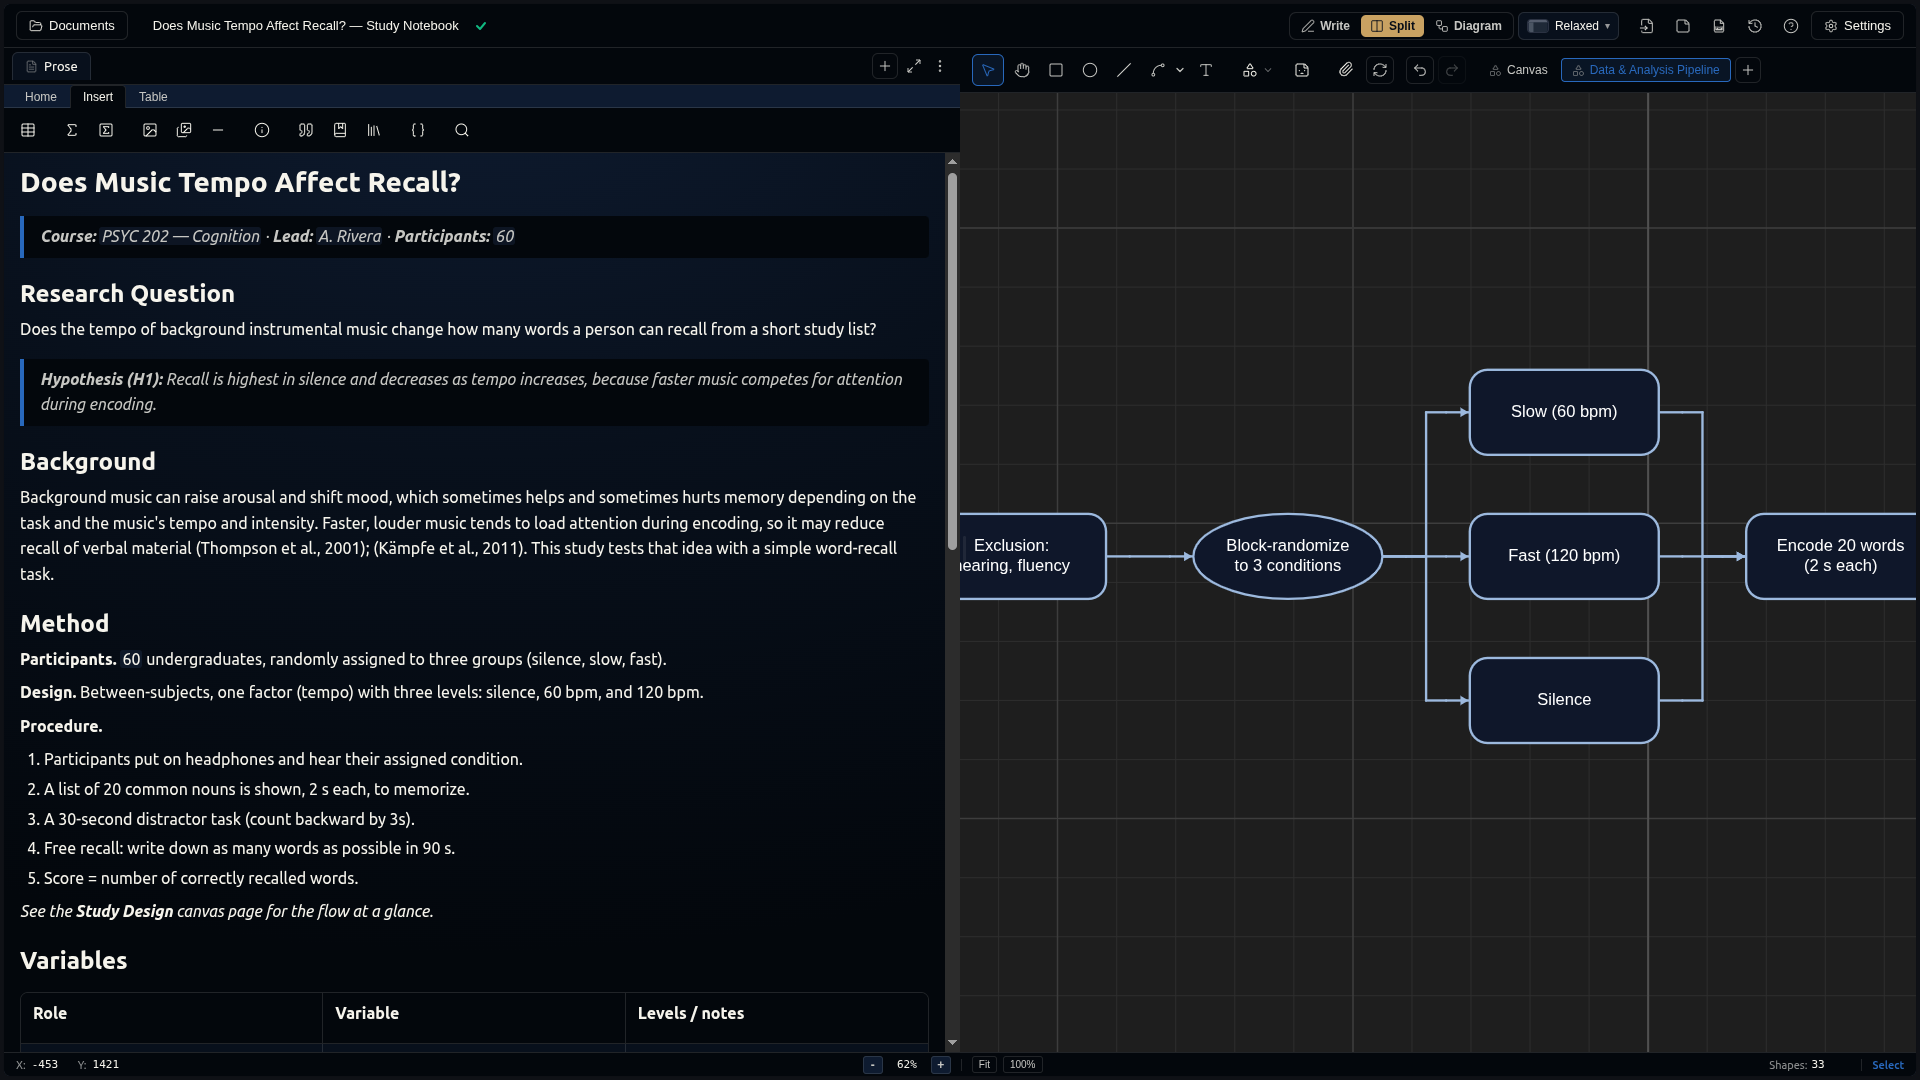
In the document editor, write the study up with real structure — headings, a hypothesis as a block quote, and a numbered Procedure:
# Does Music Tempo Affect Recall?

> Hypothesis (H1): Recall is highest in silence and decreases as tempo rises.

## Background
## Method
## Results
## Discussion
The editor supports tables, LaTeX math, and callouts — everything a write-up needs. See Rich Text & Notes.
3. Cite your sources properly
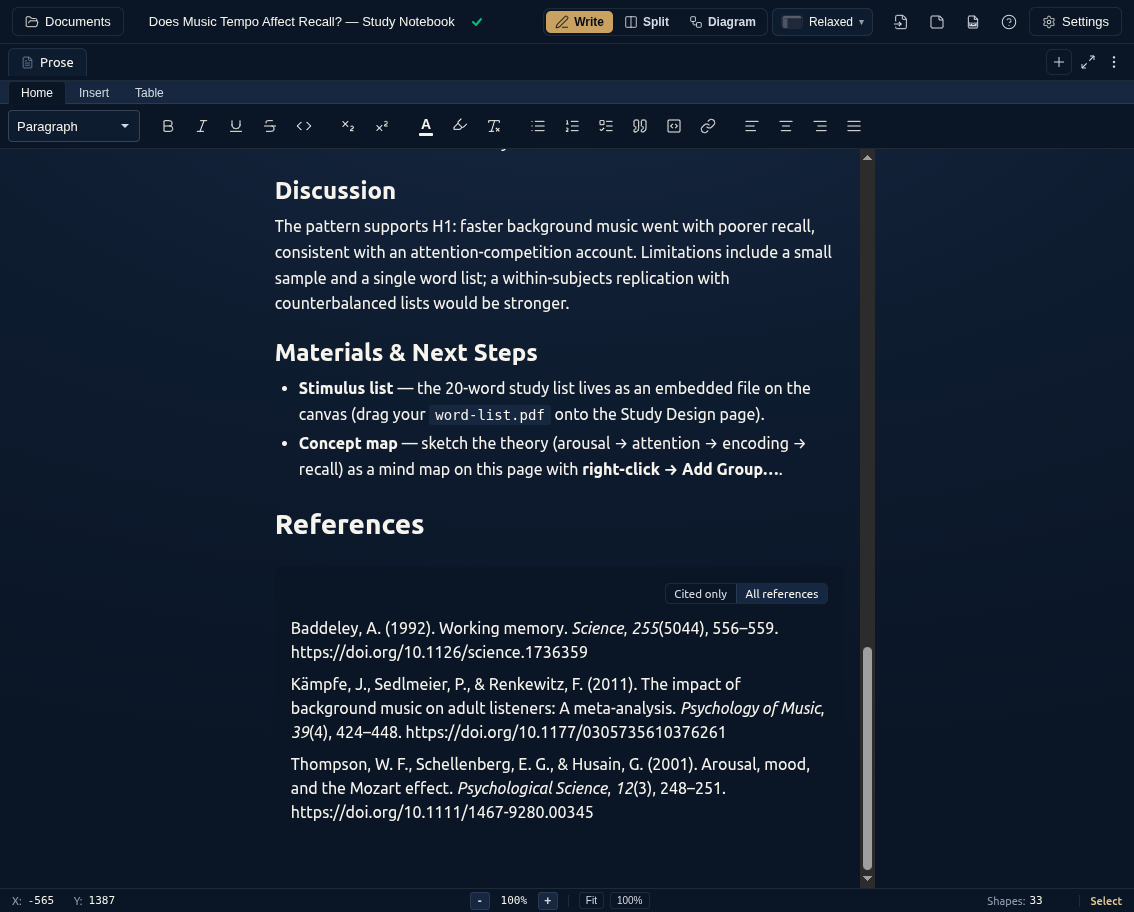
Don't hand-type a reference list — use DocuShark's citation system so the bibliography stays correct.
- Open Citations and add a reference — paste a DOI and DocuShark fetches the details, or add it by hand.
- In your Background, place an inline citation where you make a claim: it shows as
(Author, Year)and links to the library entry. - Generate the bibliography under a References heading — it's built from the library and re-formats itself as you add sources.
See Citations & References for DOIs, styles, and bibliographies.
4. Diagram the study design — and link to it
A picture of the design saves paragraphs. Add a second canvas page for it: click + on the page tabs, name it Study Design, and sketch the flow — Recruit → randomly assign → three tempo conditions → encode → recall → score. Press C for the Connector tool to wire the steps together; DocuShark auto-routes them.
Then link the diagram from your prose — in the Method section, write a line like "See the Study Design page for the flow at a glance." Because the diagram lives in the same document (not a pasted screenshot), it's always current. See Multi-Page Documents.
5. Report results with a table and math
Put your numbers in a table, and write statistics inline as LaTeX — type $F(2, 57) = 8.1,\ p < .01$ and it renders as a real equation. Block equations go on their own line between $$ … $$.
| Condition | Mean recall | SD | n |
|---|---|---|---|
| Silence | 13.4 | 2.6 | 20 |
| Fast (120 bpm) | 9.8 | 3.1 | 20 |
6. Keep the data with the notebook
Drag your data file — a CSV of scores, a stimulus PDF — straight onto the Study Design canvas. It's embedded in the document and travels with it, so the evidence lives next to the analysis. See Embedded Files.
7. Map the theory with a mind-map
To sketch how the ideas connect (arousal → attention → encoding → recall), right-click on a prose page and choose Add Group… to start a mind-map right in your notes — quick to reshape as your thinking evolves.
8. Read it anywhere — even your phone
Your notebook syncs to your workspace, so you can open it on another computer or install DocuShark on your phone and read it on the bus. Mark it available offline before a flaky-signal field trip, and try the mobile layout for small screens.
What you learned
You built a self-contained research notebook: fields, a properly-cited write-up, a linked study-design diagram, a results table with math, an embedded data file, and a concept mind-map — synced across your devices.
Next steps
- Tutorial: A Course Curriculum — files as readings, and archiving each term.
- Citations & References — DOIs, styles, and bibliographies.
- Connect an AI Agent — have an agent draft the literature review, cited, straight into your notebook.